One girls DIY restoration of a cottage.

As far as possible we, me and MeWally, want an old age with low, or no, utility bills. We also happen to be stingey with money and will make as much eco stuff as we can and build it all into our tiny house.

So we'll have a comfortable home that's cheap to make and to run. RESULT!!

Sunday 27 February 2011

Stairing A problem In The Face


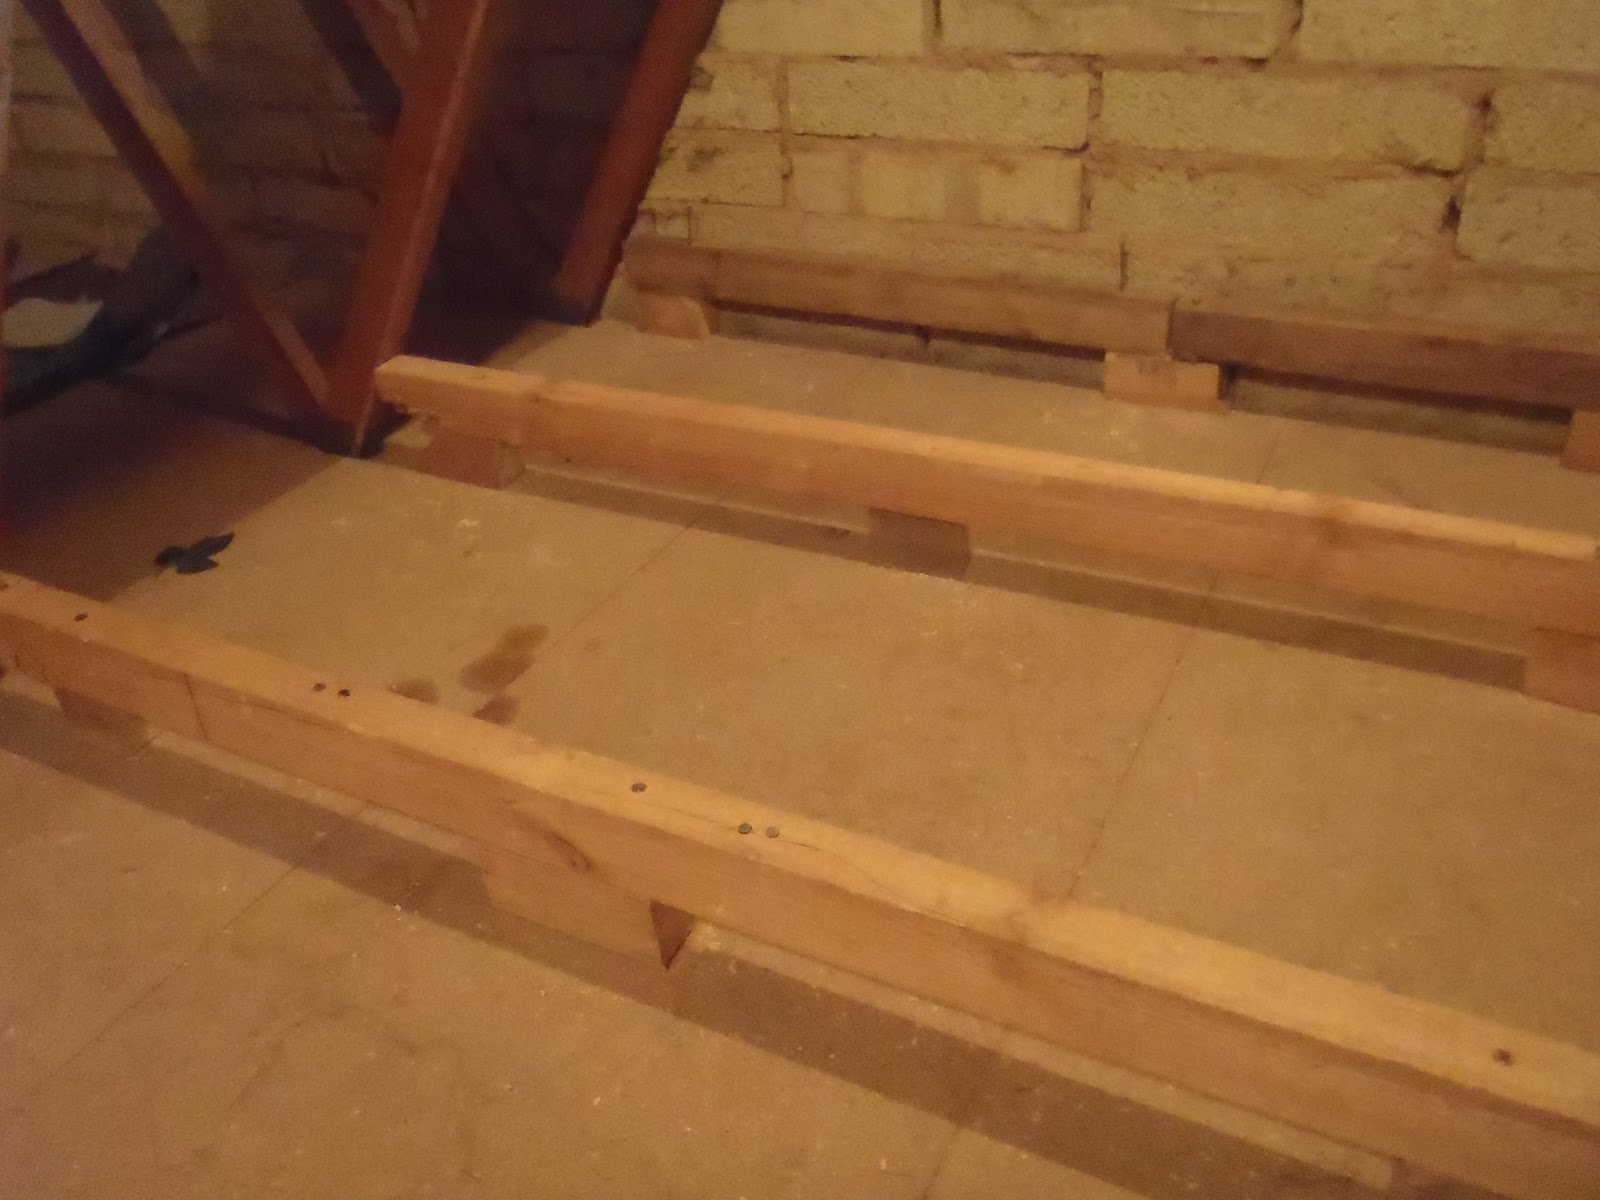
today we spent a bit of time working out the structural details. You know, the ones that mean the stairs will stay put when we take out the wedges and chocks that hold it in place. 


Anything we put in place now needs to fit in with the next phase of stair building. As we're putting the stairs in from the TOP DOWN, we have a few unique difficulties.


 The joist holding up the staircase has been permanently fixed into position. The newel post is in hand (something a bit different) and the beam to support the top of the stairs will have to be found, as it will be an exposed one. Doesn't have to be, but why not add in even more character while we have the chance.


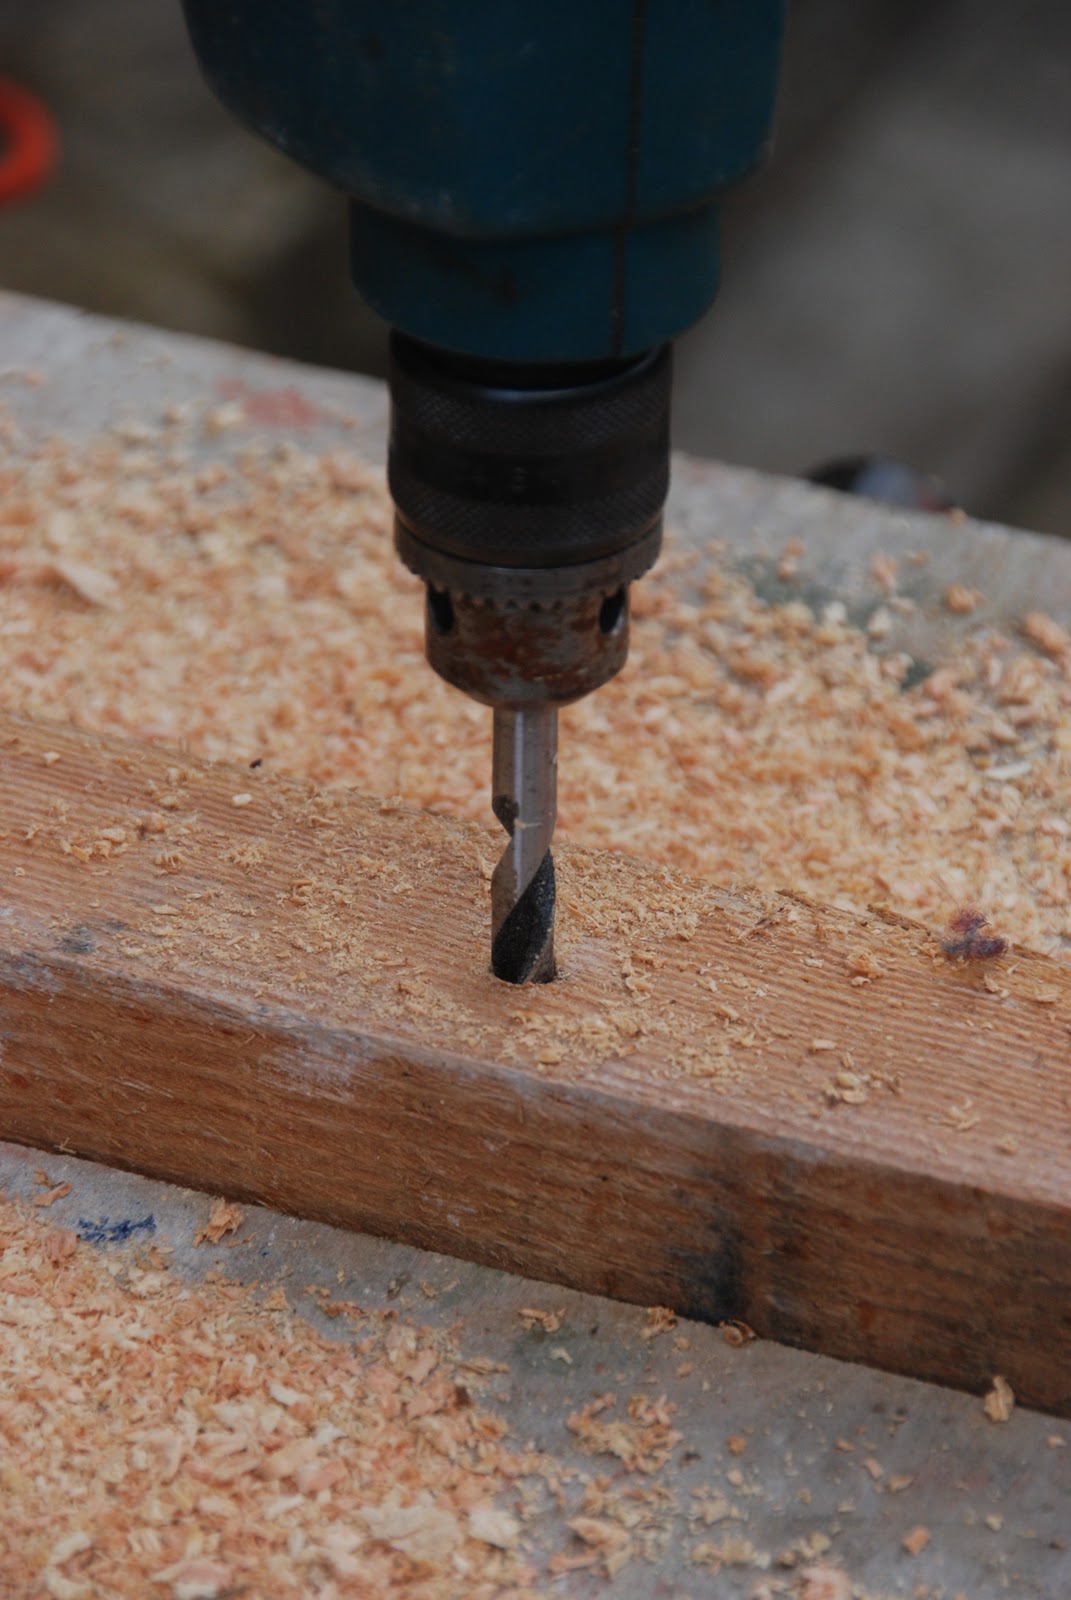
Me, once the brain work was over, I built a couple of  IKEA kitchen cupboards to go into The Turn Around House. It's the last job in their kitchen.


It only took 10 minutes to get this far!


and another 2 hours to get to this point. Both cupboards have fairly major modifications. Hopefully, they'll fit to perfection.
FINGERS CROSSED!

Saturday 26 February 2011

Faffi-Nabout


Today was the day to secure the stairs and build the small landing at the bottom of them. Then I said,
'That space for the landing looks a bit narrow, and the stairs aren't lined up with the mark on the wall.'

MeWally standing on the new staircase - not yet attached to anything - the stairs that is!
Oh dear. Here we go again. We re-roped the staircase - in case we drop it as we move it, put back in the props and un-wedged and un-blocked it. It had a few moments of scary swinging, with the props teetering wildly, before I grabbed hold of first my nerve, and then the stairs. Everything steadied.

After a bit of tapping and measuring, we were happy with the new position of the staircase,


Which meant a tidy up.

This small alteration had taken several hours to prep and execute.

BOY WERE WE GLAD TO TIDY EVERYTHING AWAY.

Friday 25 February 2011

Trimming A Kitchen - Friday 25.2.11


The kitchen in the Turnaround House has exposed gas pipes under the boiler, sooooo ugly.  


A strange box had been made out of MDF to hide the pipes, but it too, looked ugly. Sadly I don't have a shot of it in all it's horribleness.


I tiled it when I did the rest of the Kitchen, but had I no time to trim it off, all because Sams' place had the burst pipe - RAIN STOPPED PLAY. 

Today I added wooden trim to the top of it, and a tile and a half down another trim to mark a nasty looking step in the boxing. it looks smart now - which is surprising, as it dominated the field of view of anyone coming into the house, making a negative statement about the house and it's occupants as folks walked in. Now it looks as if it belongs. Once all the rest of the kitchen is trimmed, the effect will be harmonious, as if it was designed to look that way; which it was,


I LIMED and polished the trim (it's the very simple, narrow, skirt board that's so popular in eighties housing every where) before attaching it. Screwed and bracketed to hold it in place, having first stuck it with a GRAB ADHESIVE, so I could move it about and align it all to perfection. A quick grout around the join between the trim and the tiles, followed by a good clean up and this little job was done.

A couple more visits will see my work here done ..... until the next time!

Tuesday 22 February 2011

Suspending The New Stairs - Tuesday 22.2.11


Today's the day to fit this large section of our RUSTIC STAIRCASE.


Ed came over to lend us a hand. MeWally set up the rope and simple pulley system as the stairs rested on the middle floor of the house, following the long haul up from the ground floor.


The stairs were hoisted into place, swinging high above our heads. It was safe, but looked precarious. 


Once at the right height, these supports (made yesterday), were knocked into place. The stringers were wedged at the top to stop sideways movement,


and a temporary joist rigged for the bottom of the stair case. This meant chiselling out a stone from the wall and posting in the end of the joist. Spacers were put in between the first riser and the joist, as the stair will sit on top of the floor boards that will  cover a small landing.


Now it looks like a flight of stairs. Ed's sitting a where the new landing will be. Three steps will lead up to the landing.


Lovely, chunky stairs.


Looking down through the little landing to the little landing on the way down below, on the ground floor. You can also see the a piece of wood, used to stop the stair shifting horizontally.

All that was left to do was to clean up the mess - again!


Monday 21 February 2011

Demolition Crew - Monday 21.2.11

We have a couple of days at home, together, this week. I don't know about you, but there's nothing better than a bit of wrecking to strengthen the marital bonds .... at least I think that's what the RELATE counsellor said!

At last, we've taken out the stairs to the 2nd floor of our house. No going back now.


You can see the old stairs on their side on the floor.


We removed the ceiling, floor joists and wiring over the point where the new stairs will come up.


Once everything was out of the way, the wiring to the 2nd floor was reconnected. This floor is scheduled to be rewired, but not today.

Sunday 20 February 2011

Snug As Bugs - Friday 18.2.11


The job here is to raise the level of the floor in the loft so that I can put lovely thick insulation under it. I'm only putting in a small area of flooring as that's all that's needed for the customers' boxes of 'stuff'.


So, small blocks of wood were screwed on top of the existing ceiling joists (under the flooring, which was well nailed down, so I left it in place). New floor joists were screwed on to the solidly attached, and supported, blocks. 


Just a mention, don't wear wool walking socks,


or bare feet!


Before you get into the DUST FEST that is LAYING INSULATION, cut the floor boards.


Gather your protection,


and put it all on. YES ALL OF IT!


To keep the dust down, cut the unwrapped insulation with a sharp knife and DON"T WAVE IT ABOUT


Stuff fillets of insulation between each block, under the new joists. Don't pack it tight, light and fluffy is the rule - they don't call it LOFTING without reason!


To lay insulation between the joists saw the roll to the correct width to fit exactly. DON'T UNWRAP IT FIRST!


Once the 'new floor' area is insulated, nail on the floor boards. I used 6 nails; enough to stop them sliding about; few enough to let me lift them in the future, though I DON'T KNOW WHY I'D WANT TO.


Put all the tools onto the new floor and double check there's NOTHING ON THE OLD LOFT FLOOR, you'll never find anything again if you bury it with loft insulation. Now lay all the rest of the insulation where you've not laid any yet. You now have a small floor area for all your JUNK, and insulation at 270mm all over the entire loft area including under your new floor.

LOOKS GREAT!

Thursday 17 February 2011

Turn Around House - Monday 7.2.11


I'm going to put a PLINTH IN THEIR LOFT, it'll be over the, new, extra thick, loft insulation. It was due to be put in straight after Christmas, but that burst pipe put paid to all my plans. 


So I've come back to this house with a pile of old wood from my place and job number one is to rip out all the old nails.


Then cut the wood to length and drill holes where the screws will go through and secure these new joists to the old ones below.


That took me most of the day.

NOTE TO SELF - BUY AN ELECTRIC SAW- or new bushes for the one on the shelf in the workshop!


I'll keep you posted on how I got on with this little job - later this week.


Thursday 3 February 2011

I'm Forever Blowing Bubbles -Tuesday 1.2.11


I can't tell you how painful it is to show you this shot. Here is the result after 5 coats of paint, with sanding in between. The decorator is unhappy. I feel the same.


It's not a good look and affects most of the walls up to about waist level. Paul-The-Loss-Adjuster blames the wet walls......I'm speechless!

BURST PIPES, I HATE THEM.