One girls DIY restoration of a cottage.

As far as possible we, me and MeWally, want an old age with low, or no, utility bills. We also happen to be stingey with money and will make as much eco stuff as we can and build it all into our tiny house.

So we'll have a comfortable home that's cheap to make and to run. RESULT!!

Monday 9 April 2012

Building A 'Trimetal' Shed - 7/8.4.12


Lovely cemented shed base and access ramp, care of the graft of MeWally and Derek last weekend!
Now we can spend Easter Weekend building our new shed.

It came in seven boxes. Lots of bits and pieces, all numbered - often wrongly.

With patience and two days of graft,

MeWally was able to

patch the building together.

Soon it was the trimmings

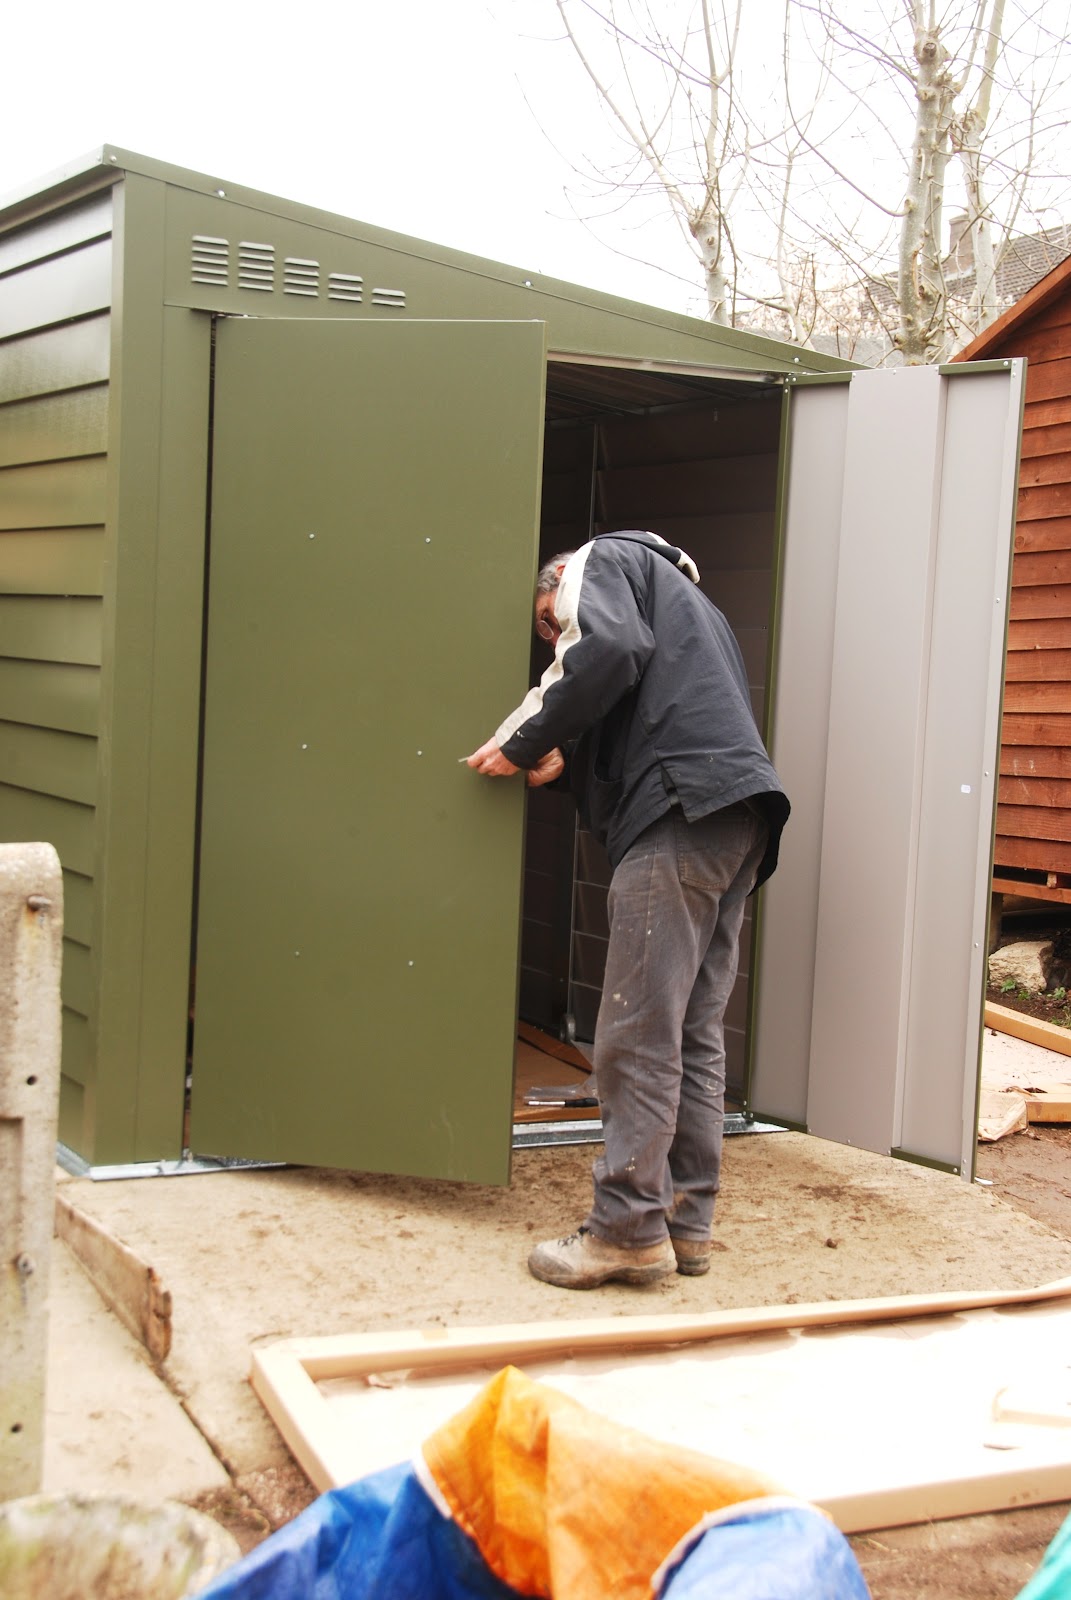
and the doors that made up the finishing touches.

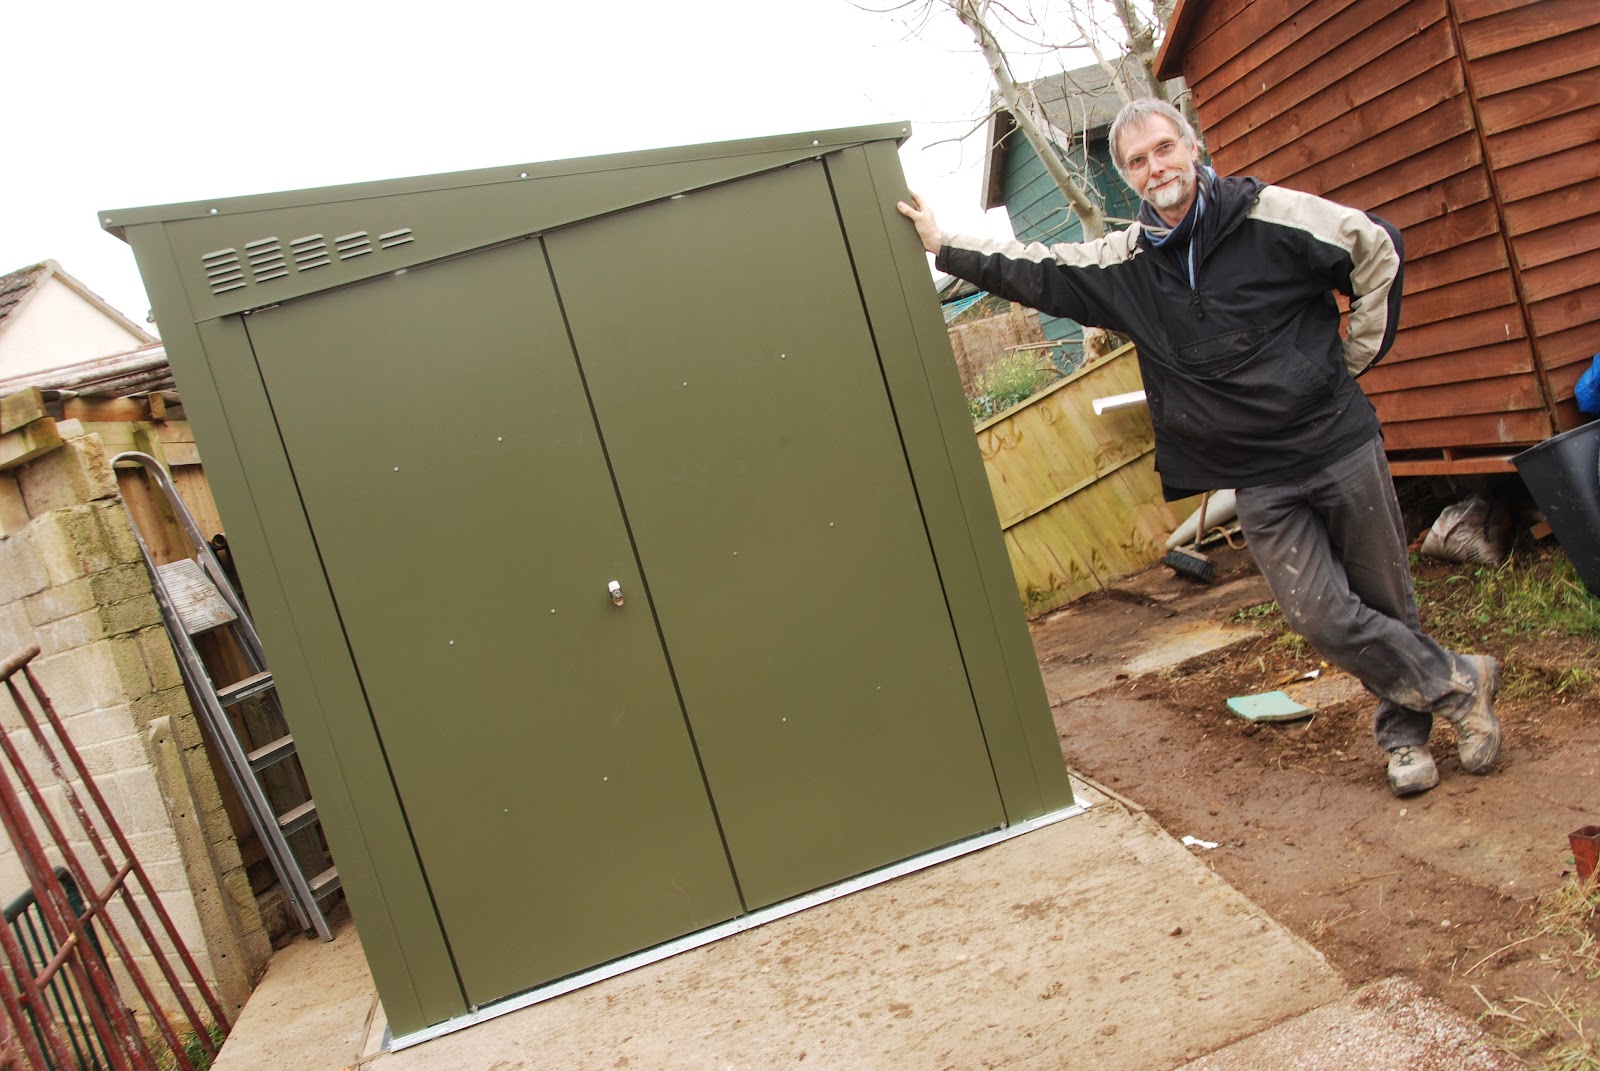
Here we are then, one shed.
Time to fill it!

Shed Base 2 - 28/30.3.12


We have a shed load of junk.
NO:

Make that several shed loads!

This shed has had its chips, 

as has this other one.

We emptied them and knocked them down.

Next job was to put in the hard core - Ed came over and gave MeWally a hand. He's a good lad!

Kellaways offered the best deal on materials - even though they got the order wrong! We gave away the spare 8 bags of cement and third of a tonne of sand. That made up for the extra aggregate I had to rush off and buy at T.P. to replace the missing tonne.

First job, crack out the anchors.

Every shed needs security - so that valuables can be chained down. We put in two.

We added reinforcing on top of the hard core. This helps prevent the cement base breaking up. Cut up with bolt cutters - watch your fingers - don't be like me!

Get the skip of sheds and junk taken away,

because the space is needed for the cementing on Saturday and shed delivery next Wednesday.