There's a lot going on inside our restored chimney breast.

You can just see 3 pipes protruding from one side?

Lime mortar goes on rough and is worked (rubbed) smooth, as it begins to cure.
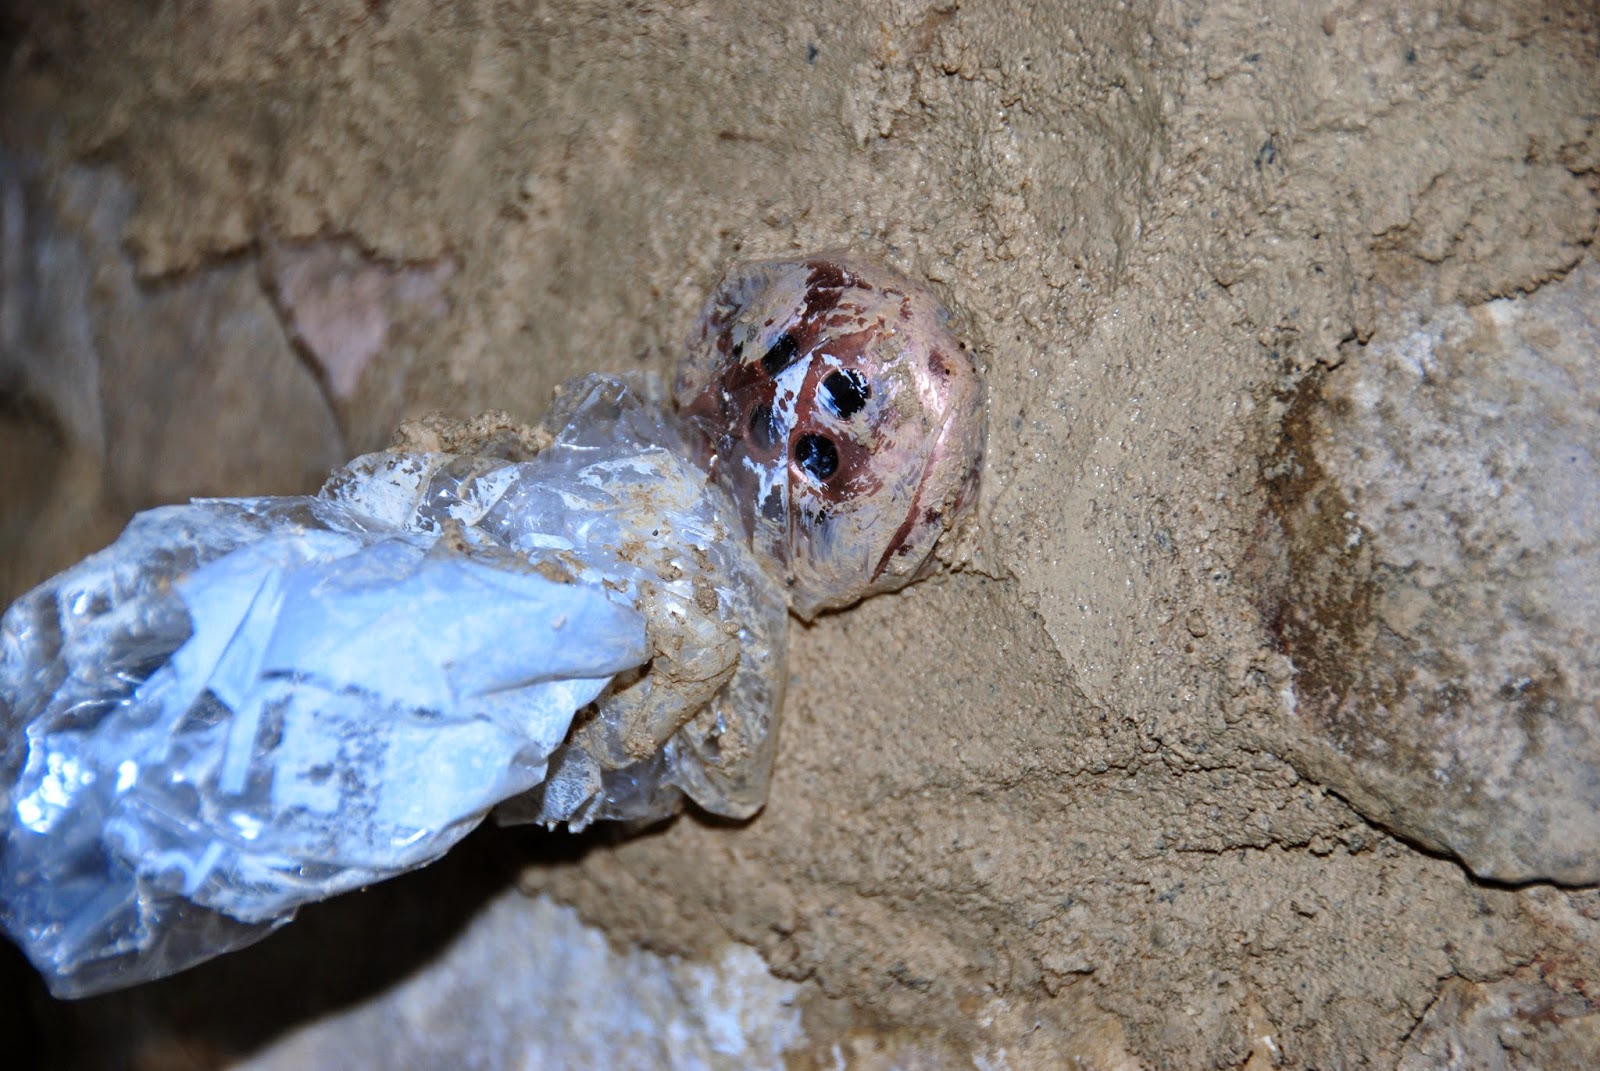
Copper studs have been protected from the lavishly daubed lime mortar.

Here's another little window on the inside of the chimney - why?

Here are the 3 pipes again.

So before I got on with the pointing MeWally had added all sorts of things to the woodburners' flue.

So, we have set up 2 convection tubes; one for the bathroom and one for the landing.
Air intake to the copper tubes if at the bottom of the chimney and the outlets are at the top.
Simple.

MeWally made the inlet and outlet holes look interesting.

The idea is to go for a steam-punk feel. This inlet pipe consists of 3 x 22mm copper pipes soldered together and

emerging near the top, having been strapped to the flue on the way. The 3 pipes will form a towel rail once the new partition is constructed.

The chimney breast, fully pointed with all that clever stuff going on inside.
No comments:
Post a Comment
I love hearing from you, so please feel free to leave your comments here as often as you fancy. I will read what you leave for me and may even post it here for everyone to enjoy. As I can't alter anything you write, please don't use my first name as I want to maintain my privacy. Ta.