Our Tasks!!
TASK 1
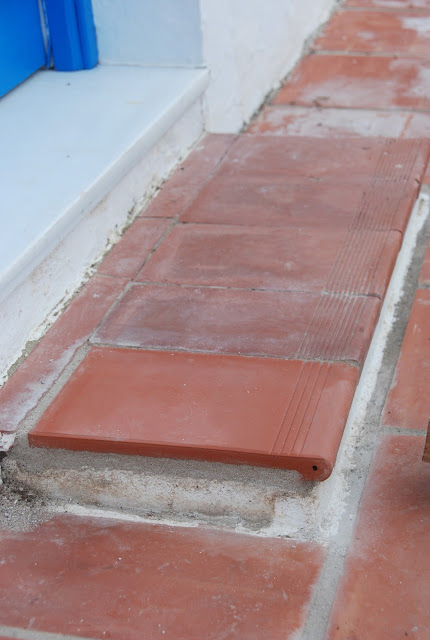
Pop a new tile on the step.
Not a perfect match, a bit short, and too wide, but when cut to nearest size, it was ok.
As long as feet stay off for a couple of days, it should be fine.
TASK 2
Clean out the rain water gullies and pipes.
2
of these gullies were full of silt after the flooding the week before.
The grills were lifted, painted where they rested on their frames and
then marine greased - to stop them rusting together - again.
A few moments rodding the underground pipes and water flowed once more.
Its' a job that needs doing after every rain event.
We put a small hole through this courtyard wall too - to let a big puddle flow away.
TASK 3
Work out why a room flooded and stop it happening again.
Work out why a room flooded and stop it happening again.
First thing to say is that it'll take more than just the two of us to stop global warming.
Mid
storm, with water at shin level, a hole had been smashed in a garden
wall in a desperate attempt to let the flood water run away.
We simply deepened the hole and neatened it up,
then dug some simple gullies through the lawn hoping to channel the water towards the hole.
On the other side of the wall the land falls away steeply and had been hurriedly trenched.
We widened the trench and built up the mouth with boulders -
although we don't know why we did that.
Later we neatened up this side of the hole too.
TASK 4
Raise an inspection hatch and cover it securely.
The original hatch was about a foot below ground level and loosely covered.
'Water' had flooded in and then entered an ensuite and its' bedroom.
A few courses of bricks later, and rendered, it all looks more like an every day, run of the mill, inspection hatch.
We wrapped the hatch in plastic sheeting and back filled it.
The last job was to fit the capstone into its' new frame.
How well it all sits together.
Shame it looks like a bomb hit it!


