Since the depths of winter we've been working on our back garden, our lovely 'mock trop'. It's dry stone walling, and its' partly rendered and painted wall, had suffered badly in the soaking wet summer followed by a freezing winter. Stone and render had exploded and lay in futile dejection on the patio slabs.

So I said, "let's take down the walls ".
He said, ""Yes Ma'am", and saluted me.
And we did.
Then I said,."And replace them".
Let the mess commence.
Stuff arrived in industrial amounts - several times - as the work slowly progressed.
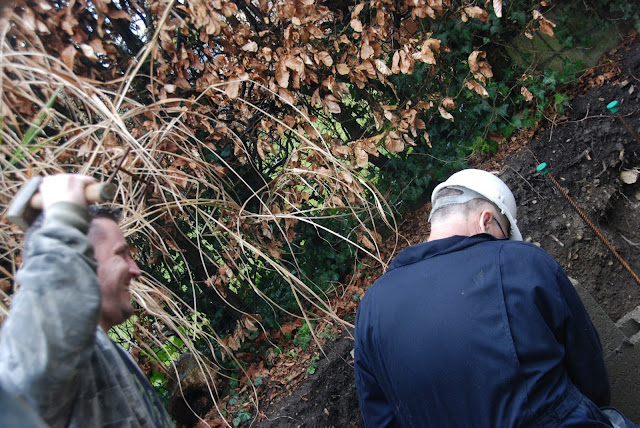
Then I said, "While we're at it, why don't we see how close we can dig to the roots of the huge Beech hedge by digging out the side border as far as possible?"
We dug right back to the hedge and didn't hit roots; they must go straight down.
A couple of friends came over and got stuck in. They turned up about once a week to lend us a hand. Like them, we can only do about a day a week. Then there was the weather - not always helpful. No wonder it's taken so long. We should have paid someone and got it over and done with .. ah well :)
Then I said, "While we're at it";They cringed; "Why don't we pop in the foundations for the extension - only down this side. Oh, and the bit on the corner?"
I headed to the local Building Regs Dept. They said they couldn't get involved unless we had Planning permission! I said, " We have no idea how big we can make the extension until we dig it out and we need guidance on depth and width of trench. They suggested that as it was more than their lives were worth to help out a tax paying member of the public ( one of the people who pays their wages), but said I should pay again to get a professionals advice.
I paid the 360 quid for a meaningless piece of lack lustre paper and did its' bidding.
All I can say is, IT"S A DEEP TRENCH.
All the mesh was placed according to the schedule.
Having been cut to fit.
The depth of the trench and the concrete -
were checked for depth/thickness at every stage.
and walls are well reinforced .
according to the .. you guessed it
Schedule. The cement was tamped to level it at each stage.
The blocks are strong to 7 newtons pressure and
have rebars through them to the top
One rebar for each hole in each block.
We need a temporary soakaway
We opted for a SOAKAWAY CRATE - cheap at less than 30 quid and quick to install, once you've dug the hole.
It's buried about 6' under - but first ..
it's wrapped in a material that helps to hold onto and then release the liquid slowly, so that it doesn't flood out of the crate and wash away the surrounding sub-soil.
All pipework has to be passed through the membrane and sealed into place.
We have 2 on this one - existing rainwater and a drain for the patio slab run-off.
The whole assembly is placed gently in its' hole and buried
This soakaway will be superseded by this one below which is set well away from the boundary of the proposed extension; meets with current Building Regs.
Not our chum, the hole!
At the garden end of the wall (as opposed to the extension end of the wall), we've gone for a sinuous look,
also with rebars and reinforcing in its' foundation slab and render all over.
The wood nailed loosely to the top? A marker to render up to. It's then removed.
That strip along it? A Goudi style mosaic will add a finishing mess .. touch, I meant touch! Wish us luck.
Every hole filled with concrete. A drainage pipe runs behind the wall to the new large soakaway and is topped with gravel.
This wall will never fall down!
This wall will never fall down!
The old bay tree that has grown out of the wall of our house had to go.
It was a grunt job to shift it, but shift it did.
Cap stones have to go on the pretty wall. We've gone for a natural stone slabs at about 80quid for a 17' run.
They're cut to fit the curve,
then roughened to match the other rustic sides of each slab.
Rested on top and waiting to be cemented on. All this took MeWally a whole day.
The void where the foundations for the extension have to be ready for inspection; when we eventually build our little extension, will be covered with planking. This will be lifted to reveal the footings when the time comes. This wall is, as you can see, is capped with blue engineering bricks - a classic look. The walls will be painted .. one day soon.


